Floristry School – Learn to be a florist
Online Floristry Course
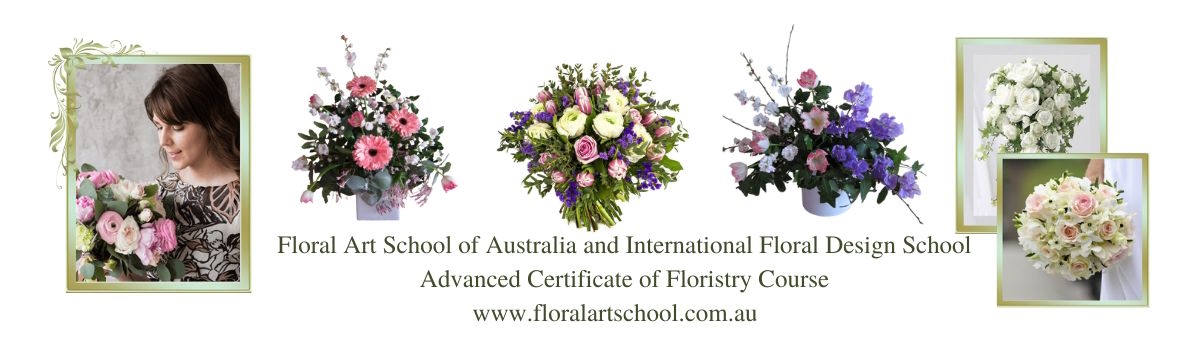
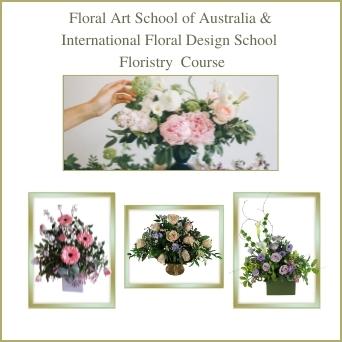
Floral Art School of Australia & International Floral Design School
Advanced Certificate of Floristry Course

Floristry School – Learn to be a florist
Classes and Online Course
Floral Art School of Australia and International Floral Design School
Advanced Certificate of Floristry Courses
Take your love of flowers to the next level and learn how to create stunning floral designs.
- No previous knowledge of floristry is needed.
- We have students who have become involved in the floristry industry including starting a florist business from home.
- We also have students who want to learn floristry so they can create flower arrangements for their home, family and friends.
- Whatever the reason you have come to the right place. The floristry course is interesting, creative and fun.
In the Floristry Course you will learn step-by-step how to create many different styles of floral designs including traditional and modern floral designs, European flower arrangements, baskets, gift boxes of flowers, hand tied posies, tributes, corsages, bridal bouquets, wedding flowers and floral designs for special occasions and so much more.


We have students of all ages and from different backgrounds - all you need is a desire to learn.
- The Floristry Course includes a large Floristry Manual for each term. You will find each manual will be a valuable reference guide, during and after you have completed the course.
- Easy to follow Online Floristry Videos showing each lesson being made step-by-step that you have lifetime access to and can always refer to them again.
- The Floristry Supplies for each practical lesson such as bowls, baskets, boxes, foam, bases, bouquet holders, ribbon, cellophane, cards, wire and floral tape are included in the course.
- You can study in the comfort of your own home at a time that suits you best. You have up to 18 months to complete the floristry course but many of our students complete the course in much less time than this as work at your own pace.
- In the Floristry Course you will learn step by step how to create 30 different floral designs and it also includes many other freestyle flower arrangements.
- You will learn flower identification, how to care for flowers for the longest possible life, basic rules of flower arranging such as balance, proportion, harmony, colour co-ordination, choosing flowers and foliage and a design to suit the occasion, the business side of floristry and so much more.
About The Floristry School
The school was established in 1972 and we have over 50 years’ experience in successfully training people in floristry.
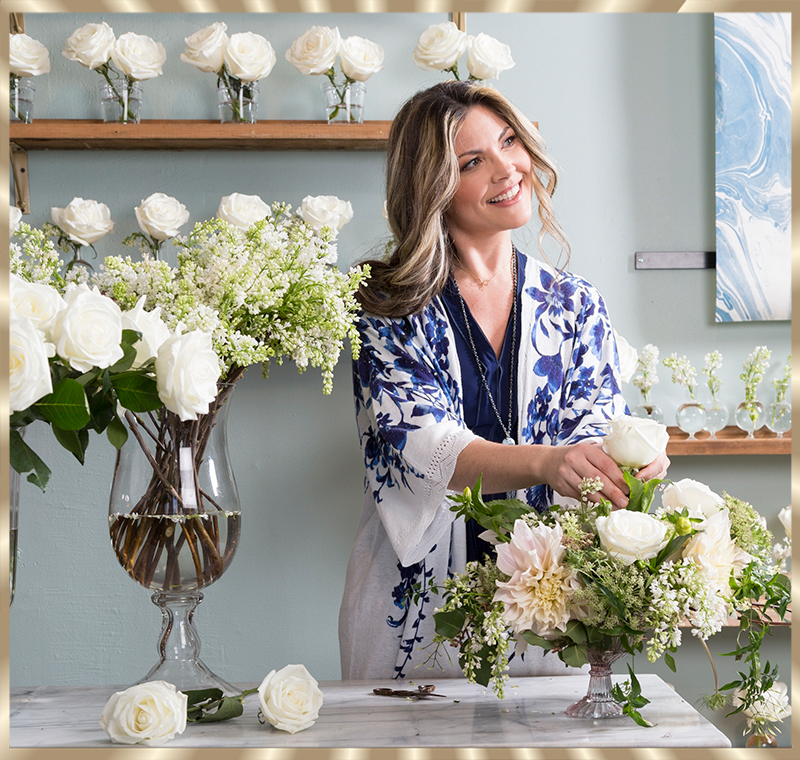
Fay Chamoun is the Principal of Floral Art School of Australia and International Floral Design School.
We are a member of the International Approval and Registration Centre (IARC).
Fay Chamoun is a member of the Australian Institute of Horticulture and The Australian Institute of Management and Leadership.
Fay Chamoun – the Principal of the school is passionate about floristry and loves sharing her knowledge with our students. Fay will work with you personally and will support you throughout the Floristry Course and this will really help you develop your skills in floristry.
You make up each lesson following the easy to follow instructions and send us photographs of your practical lessons by email and Fay will give you feedback and offer helpful suggestions if needed.
If you have any other questions during the course, you can always contact Fay by email or phone.

In The Floristry Course You Will Learn How To Create Fabulous Floral Designs
The Floristry Course shows you how to create 30 different floral designs step-by-step and also includes many other freestyle flower arrangements.
You will learn flower identification, how to care for flowers for the longest possible life, basic rules of flower arranging such as balance, proportion, harmony, colour co-ordination, the business side of floristry and so much more.
What You Will Learn In The Floristry Course
Term One Practical Lessons
Lesson 1 – Corsages
Lesson 2 – Flower Basket
Lesson 3 – Posy
Lesson 4 – European Style Arrangement
Lesson 5 – A Line Arrangement
Lesson 6 – Tribute
Lesson 7 – Sheaf of Flowers
Lesson 8 – Modern Upright Design
Lesson 9 – Table Centrepiece
Lesson 10 –Round Bridal Bouquet
Term Two Practical Lessons
Lesson 11 – Gift Box of Flowers
Lesson 12 – Flower and Fruit Basket
Lesson 13 – Bridal Trailer
Lesson 14 – Topiary Tree
Lesson 15 – Cross
Lesson 16 – Flowers Arranged in a Vase
Lesson 17 – Arrangement with a Soft Toy
Lesson 18 – Presentation Box
Lesson 19 – Modern Arrangement
Lesson 20 – Double Ended Sheaf
Term One Practical Lessons
Lesson 21 – Posy Bowl
Lesson 22 – Picture Card Arrangement
Lesson 23 – Gift Posy
Lesson 24 – Cylinder of flowers
Lesson 25 – Flower Circlet & Boutonniere
Lesson 26 – Parallel Garden Arrangement
Lesson 27 – Contemporary Arrangement
Lesson 28 – Spray Posy
Lesson 29 – Modern Line Bouquet
Lesson 30 – Cascade Bouquet
Floral Art School of Australia and International Floral Design School
Advanced Certificate of Floristry.

What Our Students Say
“I loved the course. The manuals are great and the videos are awesome. I live a very busy life I really liked the flexibility of the course. Thank you for the opportunity
to do this”.
T B – Course Graduate.
“I am delighted with all I have achieved in this course. I have never done floristry before and can now make all types of floral designs. I get a lot of positive comments about my work and have started a business from home and have several weddings booked. Thank you for everything.”
J B,- Course Graduate
“Hi Fay, I just wanted to take the time to thank you personally. This course was brilliant and I learnt so much from it. During this course I gained enough confidence to apply for a job working in a florist, which I was accepted. I am now working within the wedding florals which is absolutely amazing and loving every minute. Thank you so much again. I would recommend this course to anyone wanting to learn the techniques of flower arranging”.
J G – Course Graduate
“I found the lessons were clearly explained and easy to follow. The best part about it was having beautiful flower arrangements around the house all the time”.
E M – Course Graduate.
“I highly recommend the course to anyone who wants to further their career or simply wants to work with flowers for pleasure. Thank you for such an opportunity to explore my abilities. I am very proud of my achievements.”
J I, – Course Graduate
Take your love of flowers to the next level and bring out the creative side in you.
Please click onto the Floristry Course links below for full information about the course.
Florist Warehouse – Student Discount Card
We also operate Florist Warehouse which is a separate division to the school. We have a range of bowls, bases, baskets, boxes, florist foam, floral tape, ribbon, wire, bouquet holders, cellophane, silk flowers and other florist accessories.
When you enrol in the course you automatically become a member of the Florist Warehouse. This entitles you to a student discount card that you can use to purchase floral supplies by mail order during and after you have completed the course. A price list will be included with your course.
Free Offer – Professional Floristry Techniques Book
We have a special offer which is for a limited time only.
Enrol now in the Online Floristry Correspondence Course and we will send you a free book, Professional Floristry Techniques. This book will show you how to create arrangements for special events, floristry tips and techniques and how to add finishing touches to your floral designs.
You will also receive a Presentation Pack, that includes instructions on how to create additional freestyle floral designs.
The very best investment you can make is in yourself. Once you have learned the basic techniques in floristry and flower arranging you will have the skills and knowledge for a lifetime.
The Floral Art School of Australia and International Floral Design School Floristry Course makes it possible for you to get specialised training in your spare time.
Become Involved In The Wonderful Creative World Of Floristry
As we can only work with a certain number of students at the same time places are limited and we don’t want you to miss out.
To ensure your place in the Floristry Course Enrol Now
Turn your dreams into reality and make your life bloom!
If you have any questions about the Floristry Course, please contact us- we are here to help.