


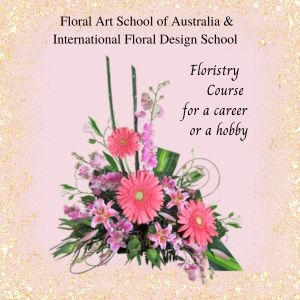
Floristry Course – Do What You Love To Do
Make this your year where you learn how to create fabulous floral designs. If you’ve been dreaming of working with flowers, creating beautiful arrangements and

Happy Valentines Day
Valentines Day is on February the 14th each year. It is celebrated around the world and is a lovely way to express your feelings to
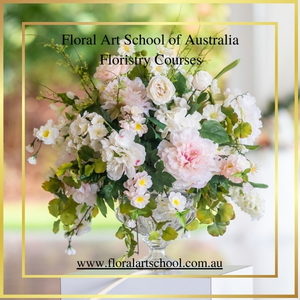
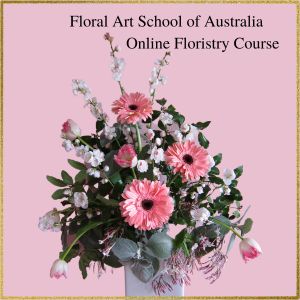
Online Floristry Course – Learn To Be A Florist
Online Floristry Course : If you love flowers and want to learn how to create fabulous floral designs for a career or your own enjoyment
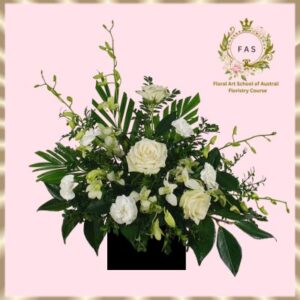
The Art of Flower Arranging: Floral Art School of Australia
Have you ever stopped to think about how you can express ourselves in a creative way with flower arranging? Welcome to this guide on how
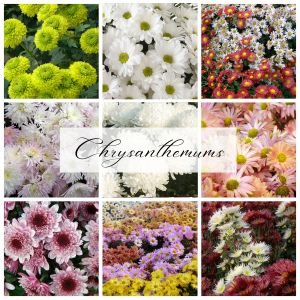
Flowers Used in Floristry – Chrysanthemums
I hope you are enjoying your week. There are different varieties of flowers and foliage that are often used in floristry. In the floristry course

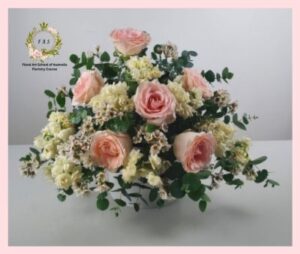
How To Create Your Own Floral Designs
By learning how to create your own floral designs is a wonderful way to express yourself in a creative way. Your love of flowers will
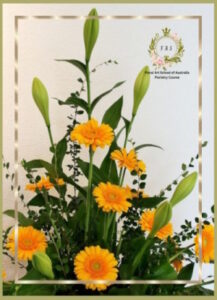
Gerberas – Popular Flowers Used In Floristry
I do hope you are enjoying your week. Gerberas are popular flowers used in floristry. They are native to South Africa and are a member
Floristry Course -The Wonderful World of Floristry
Floristry Course – welcome to the wonderful world of floristry! If you love flowers and want to learn to be a florist and create stunning
Learn Floristry For A Career Or Just Because You Love Flowers
Learn floristry for a career or just because you love flowers and create beautiful flower arrangements in our Floristry Course. In the Floral Art School
Beautiful Flowers Make The World A Better Place
Beautiful flowers make the world a better place. A flower arrangement is suitable as a gift for so many occasions. In this design gerberas, tulips,
Floristry Course – Do What You Love To Do
Make this your year where you learn how to create fabulous floral designs. If you’ve been dreaming of working with flowers, creating beautiful arrangements and
Happy Valentines Day
Valentines Day is on February the 14th each year. It is celebrated around the world and is a lovely way to express your feelings to
Online Floristry Course – Learn To Be A Florist
Online Floristry Course : If you love flowers and want to learn how to create fabulous floral designs for a career or your own enjoyment
The Art of Flower Arranging: Floral Art School of Australia
Have you ever stopped to think about how you can express ourselves in a creative way with flower arranging? Welcome to this guide on how
Flowers Used in Floristry – Chrysanthemums
I hope you are enjoying your week. There are different varieties of flowers and foliage that are often used in floristry. In the floristry course
How To Create Your Own Floral Designs
By learning how to create your own floral designs is a wonderful way to express yourself in a creative way. Your love of flowers will
Gerberas – Popular Flowers Used In Floristry
I do hope you are enjoying your week. Gerberas are popular flowers used in floristry. They are native to South Africa and are a member
Floristry Course -The Wonderful World of Floristry
Floristry Course – welcome to the wonderful world of floristry! If you love flowers and want to learn to be a florist and create stunning
Learn Floristry For A Career Or Just Because You Love Flowers
Learn floristry for a career or just because you love flowers and create beautiful flower arrangements in our Floristry Course. In the Floral Art School
Beautiful Flowers Make The World A Better Place
Beautiful flowers make the world a better place. A flower arrangement is suitable as a gift for so many occasions. In this design gerberas, tulips,